Using SQL Membership with ASP.NET Application
Introduction
Most ASP.NET projects implement features like Login, Security, Password encryption, User Roles, Access rights, etc. Lot of code and logic goes into implementing all of this stuff.SQLMembership
resolves all these concerns just by a few clicks and configurations and above all (which I like the most) without a single line of code. :)
Background
In this article, I will provide a complete walkthrough about using
SQL Membership in
ASP.NET projects. I hope you find this stuff beneficial.
Using the Code
SQL Membership is a wonderful way of interaction betweenASP.NET andSQL Server.
SQL Membership provides 2 kinds of Authentication methods:
- Using SQL Server
Membership database (Kind of Form Authentication)
- Using Local System authentication (Windows Authentication)
The process is relatively easy to implement. I will go step by step to show the implementation. Let's consider that you are going to develop an application from scratch, so here we go:
- First, we need to setup the SQL
Membership database. In order to create that database, please follow the steps:
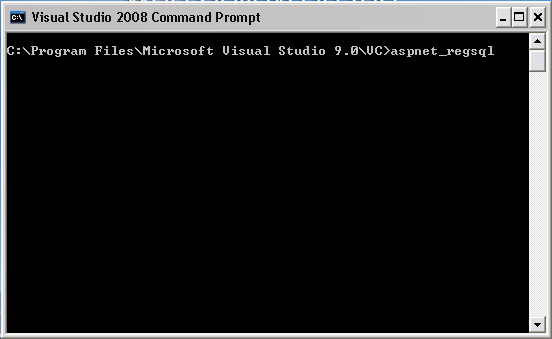
- Go to Windows Start menu>>All Programs>>Microsoft Visual Studio 2005/2008>>Visual Studio Tools and clickVisual Studio 2008 Command Prompt
- Type aspnet_regsql and press Enter key from the keyboard.
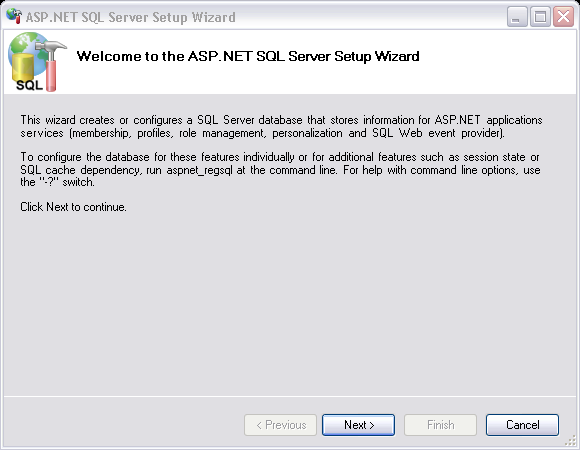
- This will launch SQL
Membership Wizard as follows. Click Next button to continue.
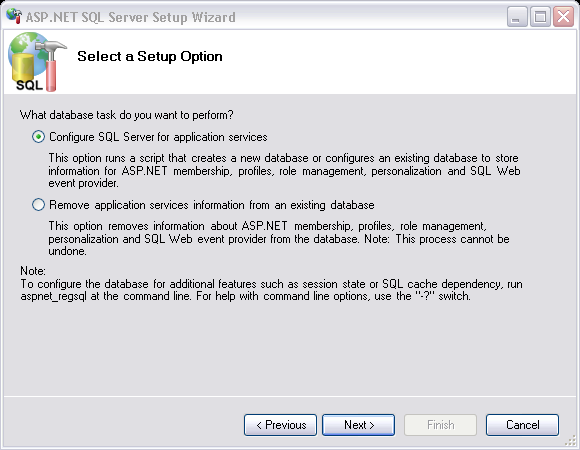
- On the next screen select the first option to "Configure
SQL Server for application services". Click Next to continue.
- This screen is important as you will mention the Database information here. On the basis of that, table structures and other things will be created. You can use an existing database or create a new one.

- After filling all the information click next and Finish. :) You guessed right, yourSQLMembership database is ready now.
- Now let's connect our
ASP.NET Website application to this database. For this, first create an
ASP.NET website in Visual Studio 2005/2008.
- Now open the Web.Config file for the project and add a well qualifiedConnection String for theSQL Server
Membership database you are going to use.
<connectionstrings>
    <add name="abcdCS" connectionstring="
    Data Source=myserver\sqlexpress;Initial Catalog=just create database name;
    User ID=sa;Password=pass"
    providername="System.Data.SqlClient" />
</connectionstrings>
This Connection String will be used by theASP.NET Configuration forconnection with the database.
- After that, click on VS 2005/2008 Project menu>>ASP.NET Configuration
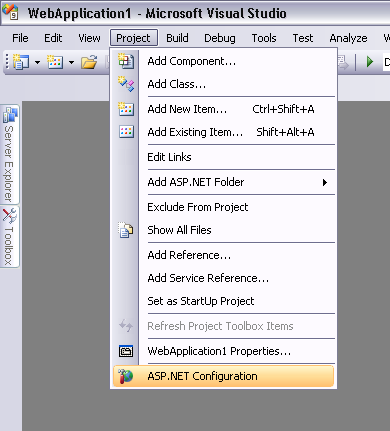
- This will launch the ASP.NET Web Site Administration Tool. Here, you will test the databaseconnection, manage users, roles, permissions, etc.
- First click on the Provider tab.
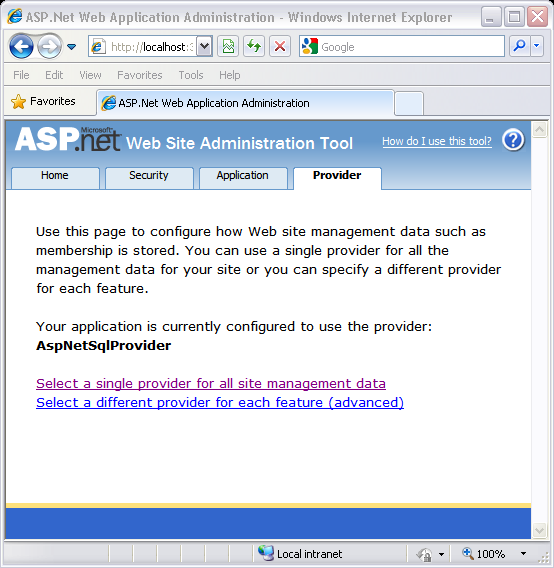
Here you will be testing the database connection. Click on both the links one by one to test theconnectivity with database.
- Clicking the above links will show screen as mentioned below:
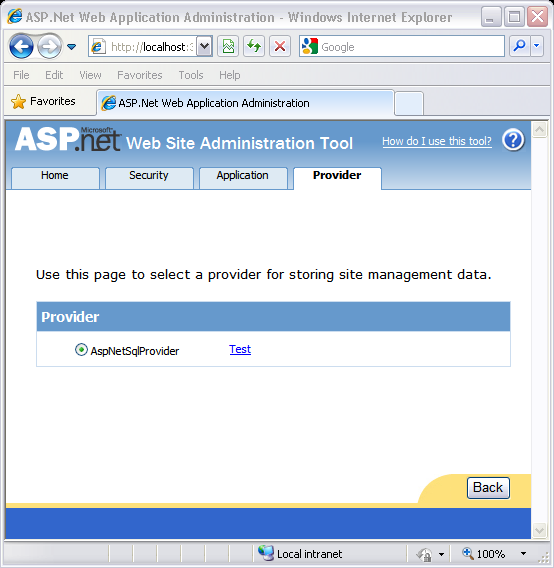
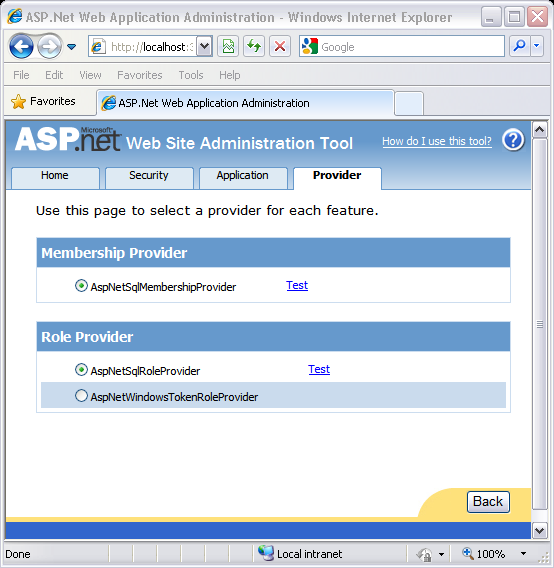
Click the "Test" link in each screen to check the
connection status.
- If your connection is successful, you will get a screen like this:
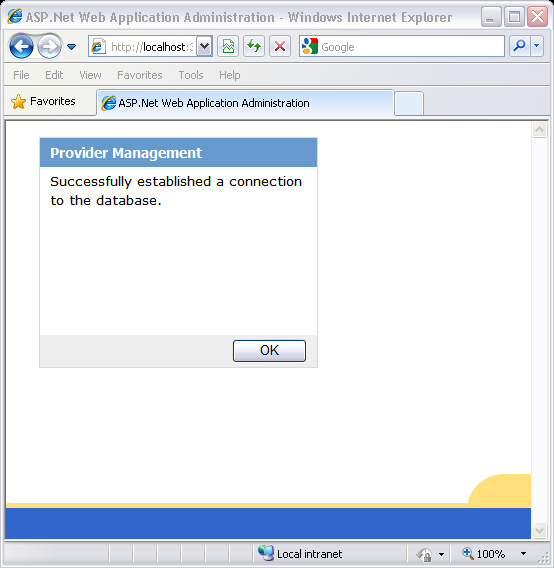
So far so good. :) We are done with the connection part ofSQLMembership database with theASP.NET website
application.
Now in order to select authentication types, create users, manage roles, and access rules, you need to see theSecurity tab.
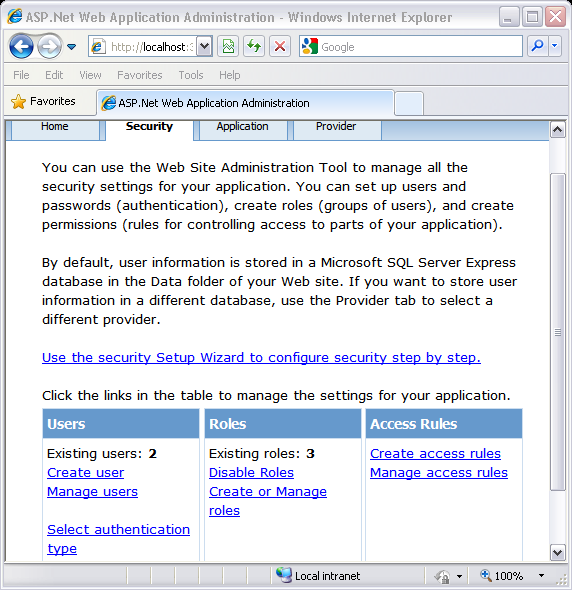
In order to setup the SMTP settings, Application Settings, Debugging and Tracing settings, and default error page, you need to visit the Application tab.
About more reference to my blog ,link:
http://blog.csdn.net/tristan_dong/article/details/8261716
分享到:


相关推荐
Introduction to ASP.NET Core What are .NET Core and ASP.NET Core? A Brief History of the Microsoft Web Stack Getting started with .NET Core ASP.NET Core Basics Beyond the Basics: Application ...
An introduction to ASP.NET programming 1. Describe the components of a web application. 2. Describe the four components of a URL, and describe what happens when you omit the file name from a URL when ...
Chapter 5: Building the SpyStore Application with ASP.NET Core MVC Part II: Client-Side Tooling and JavaScript Frameworks Chapter 6: JavaScript Application Tools Chapter 7: Introduction to TypeScript ...
It offers a clearly-written introduction both to the ASP.NET MVC Framework and to the MVC approach. The focus is on creating real, maintainable web applications—so don't expect toy examples and ...
With .NET Core, cross-platform develop is easier and backward compatibility is no problem. Author Giancarlo Lelli guides you through the fundamentals of .NET Core in his latest book, .NET Core ...
Here’s what reviewers are saying about Inside ASP.NET: About the Author Contributing Authors About the Technical Reviewers Acknowledgments Tell Us What You Think! Introduction Who...
Enterprise Application Architecture with .NET Core by Ganesan Senthilvel English | 25 Apr. 2017 | ASIN: B01M18CQNP | 564 Pages | AZW3 | 9.94 MB Architect and design highly scalable, robust, clean and...
06:Introduction to ASP.NET AJAX 07:Building Web Applications with Visual Studio 2008 & ASP.NET 3.5 08:Building Mobile Applications using Visual Studio 2008 & .NET Compact Framework 3.5 09:...
06:Introduction to ASP.NET AJAX 07:Building Web Applications with Visual Studio 2008 & ASP.NET 3.5 08:Building Mobile Applications using Visual Studio 2008 & .NET Compact Framework 3.5 09:...
Introduction to Scilab For Engineers and Scientists 英文epub 本资源转载自网络,如有侵权,请联系上传者或csdn删除 查看此书详细信息请在美国亚马逊官网搜索此书
Oracle Database 11g Introduction to SQL 简介SQL PL/SQL
Beginning ASP.NET 4.5 Databases is a comprehensive introduction on how you can connect a Web site to many different data sources — not just databases — and use the data to create dynamic page ...
ASP.NET: State Server Gems 完整的动态加载/卸载程序集的解决方案 从NUnit中理解.NET自定义属性的应用(转载) 如何在.NET中实现脚本引擎 (CodeDom篇) .NET的插件机制的简单实现 我对J2EE和.NET的一点理解 难分难舍...
Beginning with an introduction to what programming is, the book will go on to explaining about languages, their syntax and development environments. There's enough and plenty examples for you to code...
Introduction to ASP .NET Core 8/5/2017 • 2 min to read • Edit Online By Daniel Roth, Rick Anderson, and Shaun Luttin ASP.NET Core is a cross-platform, high-performance, open-source framework for ...
It offers a clearly-written introduction both to the ASP.NET MVC Framework and to the MVC approach. The focus is on creating real, maintainable web applications—so don't expect toy examples and ...
Pro ASP.NET SignalR starts with an introduction to the real-time web. Learn about the technologies underlying the SignalR library, such as WebSockets and long-polling, and how SignalR elegantly flips ...